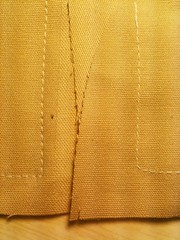
Sew your corner nicely. For thinner fabrics a perfect corner, pivoting around the needle like the left one. Thicker fabrics need a bit more room, so pivot twice, using a stitch as the corner like the sample on the right.
Step 2:
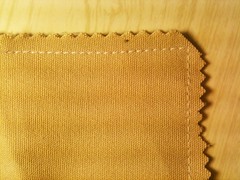
Trim the seams down to a minimal width, and clip the corner.
Step3:
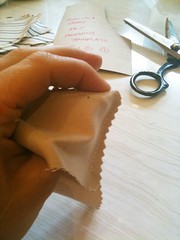
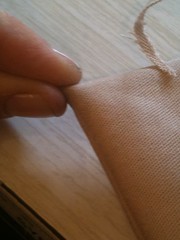
Holding the corner like this, use your fingers to fold down the seam allowance so that it folds inside out nicely, instead of crumpling up inside.

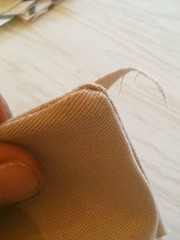
The corner should look like this after you turn it right side out.
Not very sharp, right? But a good start, since there's no excess fabric inside clogging up the corner.
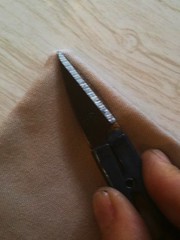
Step 4:
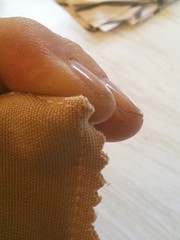
Insert your snips (or a small pair of embroidery scissors), on the inside of the corner and push out. Not too hard, you don't want to pierce through!
Step 5:
Pinch the corner a little bit to finish off the shaping.
Done!
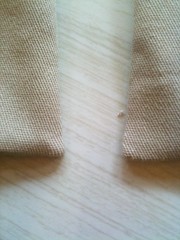
Beautiful corners!
As you can see below, the one on the left isn't quite shaped right, it's a bit stretched. That's because it was sewn with the corner for thin fabric, but on thick twill, which needs the thick fabric cornering. Clear as mud?
Happy sewing!
xCherry
www.FuriousKingston.com.au
No comments:
Post a Comment